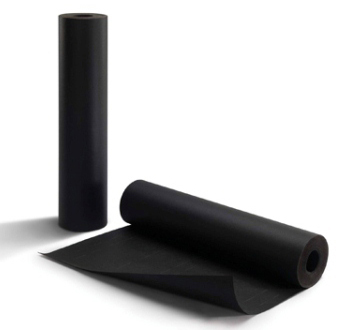
Before applying roofing, cover the sheathing with roofing felt, also often called “tar paper.” Do not use felt as a temporary protection against rain: If it gets wet it will wrinkle, making it harder to shingle. If you need to temporarily protect a roof, cover it with plastic sheeting or a tarp.
 Most local codes call for using 30-pound felt. Some roofers prefer to attach felt underlayment with 1-inch roofing nails or special nails with plastic washers, but most codes allow staples, which are easier to drive. For the lower portion of the roof — especially the part that overhangs the eaves and is susceptible to ice dams — it is a good idea to apply self-stick waterproof shingle underlayment (WSU), also called ice guard.
Underlayment, flashings, and shingles all work together and must be installed in the correct order.
If you lay the felt perfectly straight, you can use its lines (instead of horizontal chalk lines) to align the shingles.
Apply drip edge to the eave. Cut drip edge flashing at an angle at the corner, press it lightly against the eave end (not too hard or you will misshape it), and drive a nail near the end. Use a chalk line or align it by eye to make sure it is straight, then drive roofing nails every foot or so to fasten it to the sheathing.
Where drip-edge pieces meet, overlap them by at least 2 inches. Where the drip edge meets a valley or a hip, cut the pieces as shown, with overlapping tabs. Press the tabs firmly to make crisp corners with no gaps and attach with roofing nails.
Snap a chalk line to help you align the WSU or felt. The WSU should overhang the drip edge by 1/2 inch, so snap a line that is 35-1/2 inches above the drip edge. Check at several points to make sure the overhang is consistent; it does not have to be perfect, but you may need to realign the drip edge.
Using the chalkline as a guide, roll out about 12 feet of WSU smooth and free of creases and bubbles. Often you can reroll it, then unroll it while peeling off the paper backing. On a steep roof (shown), you can adhere the bottom half first, then pull off the backing from above. Avoid creases and stay aligned with the chalk line. Press down to tightly seal the WSU.
No matter which valley method you use, for extra protection apply WSU at a valley. Snap chalk lines on both sides for guides. Roll out and smooth the WSU and drive a few nails on one side to hold it temporarily. Fold over the other side and peel off the paper backing. Press into place, remove the nails, and peel off the paper on the other side.
Overlap felt courses at least 4 inches. Snap a chalkline 32 inches above the top edge of the WSU or use the lines on the felt as guides. If you use the lines as guides for installing shingles, measure up from the drip edge to confirm that you stay parallel. Roll out the felt, eliminating creases or bubbles, and drive at least three staples every foot.
Apply felt right up to the ridge or to no more than 4 inches below it. (Rather than cutting the felt horizontally to fit, overlap it by more than 4 inches.) Apply felt on the ridge so it overlaps at least 8 inches on each side. Eliminate creases and bubbles.
Where the roof meets a wall, lap the felt up 4 inches if possible. Pry away the siding and slip the felt under the siding. In some situations, you may have to temporarily remove the siding and replace it after installing the underlayment, shingles, and flashing.
